Painting a car can be a daunting task for the novice, but with the right preparation, it can be an enjoyable and rewarding experience. Prepping your car for painting is one of the most important steps in the process and can help you achieve a professional-looking finish. This article will cover the essential steps you need to take to make sure your car is ready for the paint job. From cleaning and sanding to removing rust and other debris, prepping your car for painting requires attention to detail and a lot of elbow grease. We'll walk you through each step in the process so that you can make sure your car is in tip-top shape before the paint hits the surface. Painting a car is an excellent way to give it an aesthetic touch-up, but preparation is key.
Before you can begin painting, you must take several steps to ensure the surface of the car is ready for painting. In this article, we will discuss the different steps involved in prepping a car for painting. The first step in prepping a car for painting is cleaning the surface. This involves removing any dirt, grime, or debris that may be on the car.
Use a mild cleaner and a soft cloth or sponge to clean the surface. Make sure to use an appropriate cleaner and avoid using anything abrasive as this can damage the surface. After cleaning, you should inspect the surface of the car for any imperfections or damages. If you find any, repair them using body filler or putty.
Do not leave any damages as they can affect the adhesion of the paint. Once all repairs are complete, lightly sand the surface using fine-grit sandpaper. This will create a smooth surface that allows the paint to adhere properly. After sanding, wipe the surface with a damp cloth to remove any dust particles. The next step is priming the car.
Primer is a special type of paint that provides a layer of protection between the car's surface and the paint you will be using. Primer also helps fill in any tiny imperfections that weren't visible before sanding and helps make sure that the paint adheres properly. Finally, you should mask off any areas that you don't want to paint. This includes windows, trim, headlights, etc. Use painter's tape and masking paper to cover these areas and make sure they are completely sealed off before applying any paint. Once all of these steps are complete, you can begin painting your car.
Make sure to follow the instructions on your paint can and apply multiple coats of paint if necessary.
Cleaning
Cleaning your car before painting is an essential part of the process. A mild cleaner and a soft cloth or sponge should be used to clean the surface of your car. Make sure to get into all the crevices and remove any dirt, dust, and debris that could interfere with the painting process. After cleaning, allow the surface to dry thoroughly before beginning the painting process.Sanding
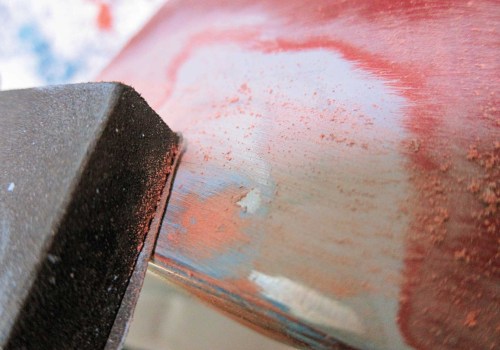
Before you begin painting, it is important to sand the surface of the car to create a smooth finish.Sanding will also help to remove any dirt and debris that may have accumulated on the surface over time. When sanding, it is important to use a fine-grit sandpaper. This will ensure that the surface is adequately smoothed without creating any damage or scratches. Make sure to lightly sand the surface, taking care not to press too hard as this can cause damage to the underlying paint. Once you have finished sanding, wipe down the surface with a damp cloth to remove any dust or particles that may have been created during the sanding process.
Priming
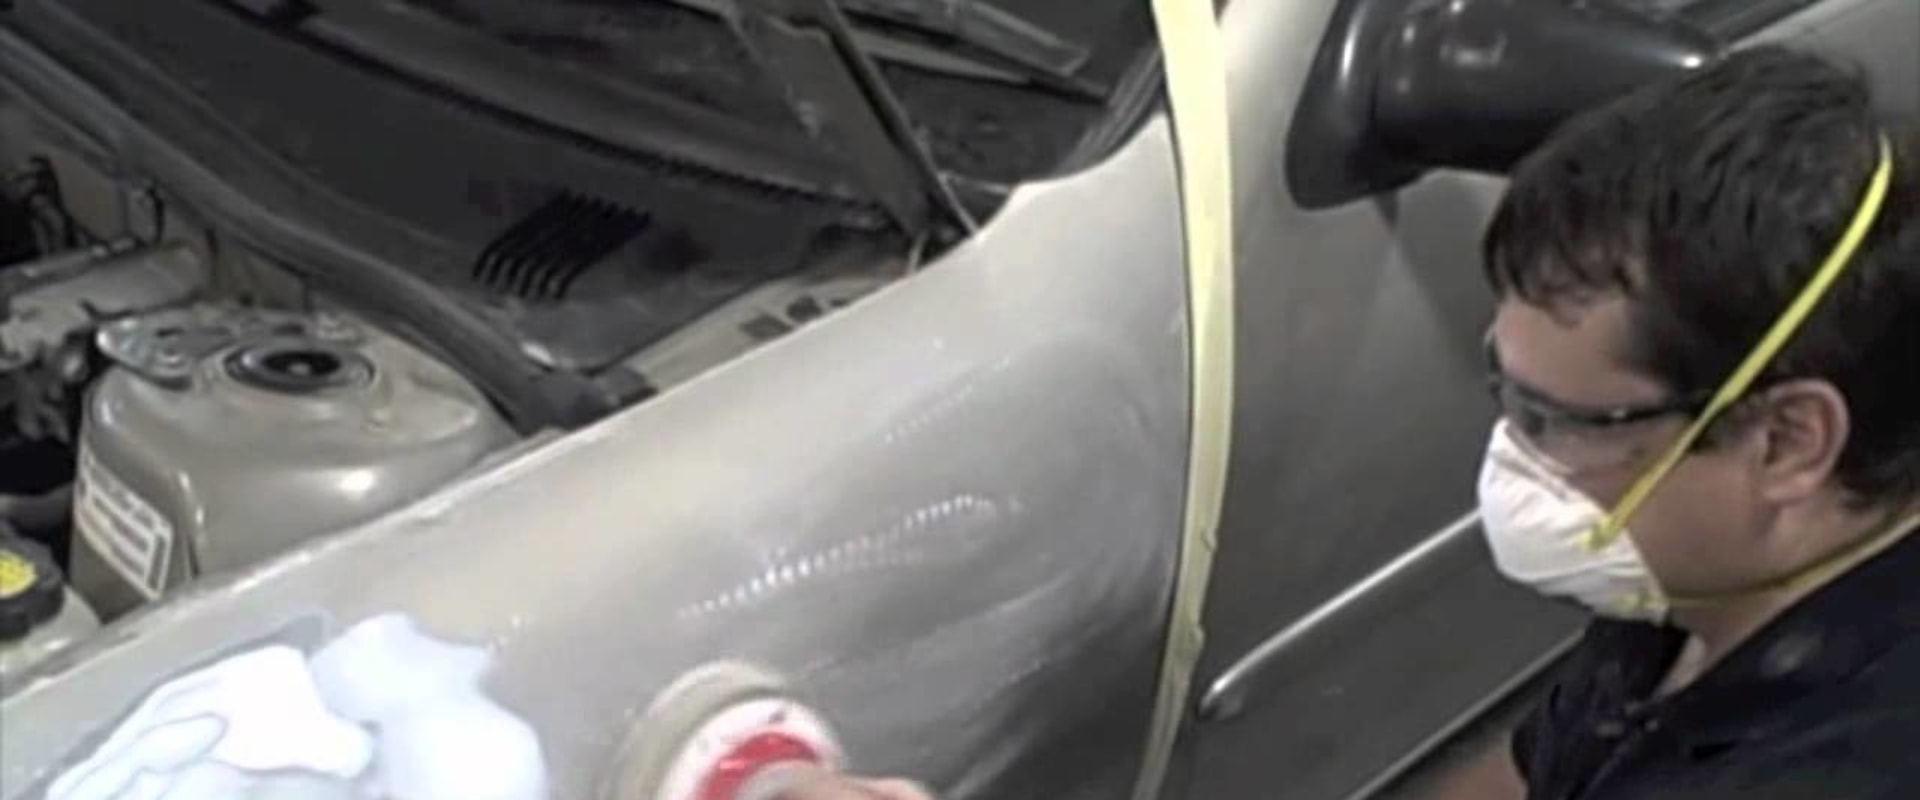
The next step in prepping a car for painting is to apply primer. Primer provides a layer of protection between the car's surface and the paint you have chosen. It is important to use primer that is specifically designed for the type of surface you are painting. For instance, if you are painting a metal surface, use a metal primer.If you are painting a plastic surface, use a plastic primer. When applying the primer, it is important to follow the manufacturer's instructions. Primer should be applied evenly and in thin layers. Make sure to allow the primer to dry completely between each layer. After all layers of primer have been applied and have dried, sand the primed area with fine-grit sandpaper.
This will ensure that the paint will adhere properly when it is applied.
Inspection and Repair
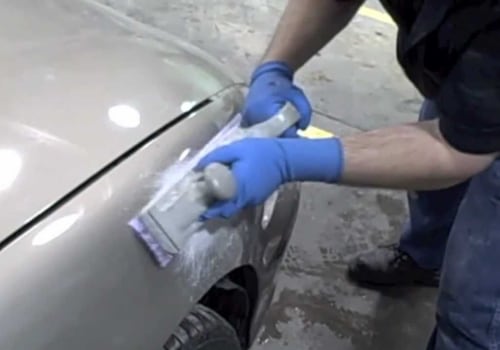
Before you start prepping your car for painting, it is important to inspect the surface of the car for any imperfections or damages. This can include dings, dents, scratches, rust spots, and any other blemishes. Once you have identified any issues, you can use body filler or putty to repair them. Body filler is best for minor repairs, while putty is better for larger repairs.When applying either material, ensure that the area is clean and dry before applying the filler or putty. When applying body filler or putty, use a putty knife to press it into the area of the car that needs to be repaired. Then, use a wet sandpaper to smooth out the area. Once the filler or putty has dried, you can repeat this process again if needed.
Masking
Before you start painting, it's important to mask off any areas of the car that you don't want to paint.The best way to do this is with painter's tape and masking paper. Painter's tape is a low-tack adhesive tape that can be easily applied and removed without damaging the car's paint. Masking paper is a paper-based material that can be cut to shape and used to cover parts of the car that need to be protected from the paint. When you're applying the painter's tape, make sure that it is firmly pressed down so it won't peel off when you're painting. It's important to use a few layers of painter's tape to ensure that the paint doesn't seep through.
For the masking paper, use a sharp knife or scissors to cut it into shape and then press it firmly against the car. Make sure that you remove any excess paper before you start painting. Prepping a car for painting is an essential part of giving it an aesthetic touch-up. Cleaning, inspection, repair, sanding, priming, and masking are all critical steps in the prepping process. Taking the time to complete each of these steps correctly will ensure that your car looks great when finished. Remember that even the best paint job won’t look good on a poorly prepared car.
Take your time and follow these steps carefully in order to get the best results possible.